No products in the cart.


How to draw a profile
Learning how to draw profile faces for your fashion sketches and illustrations will give you more op...
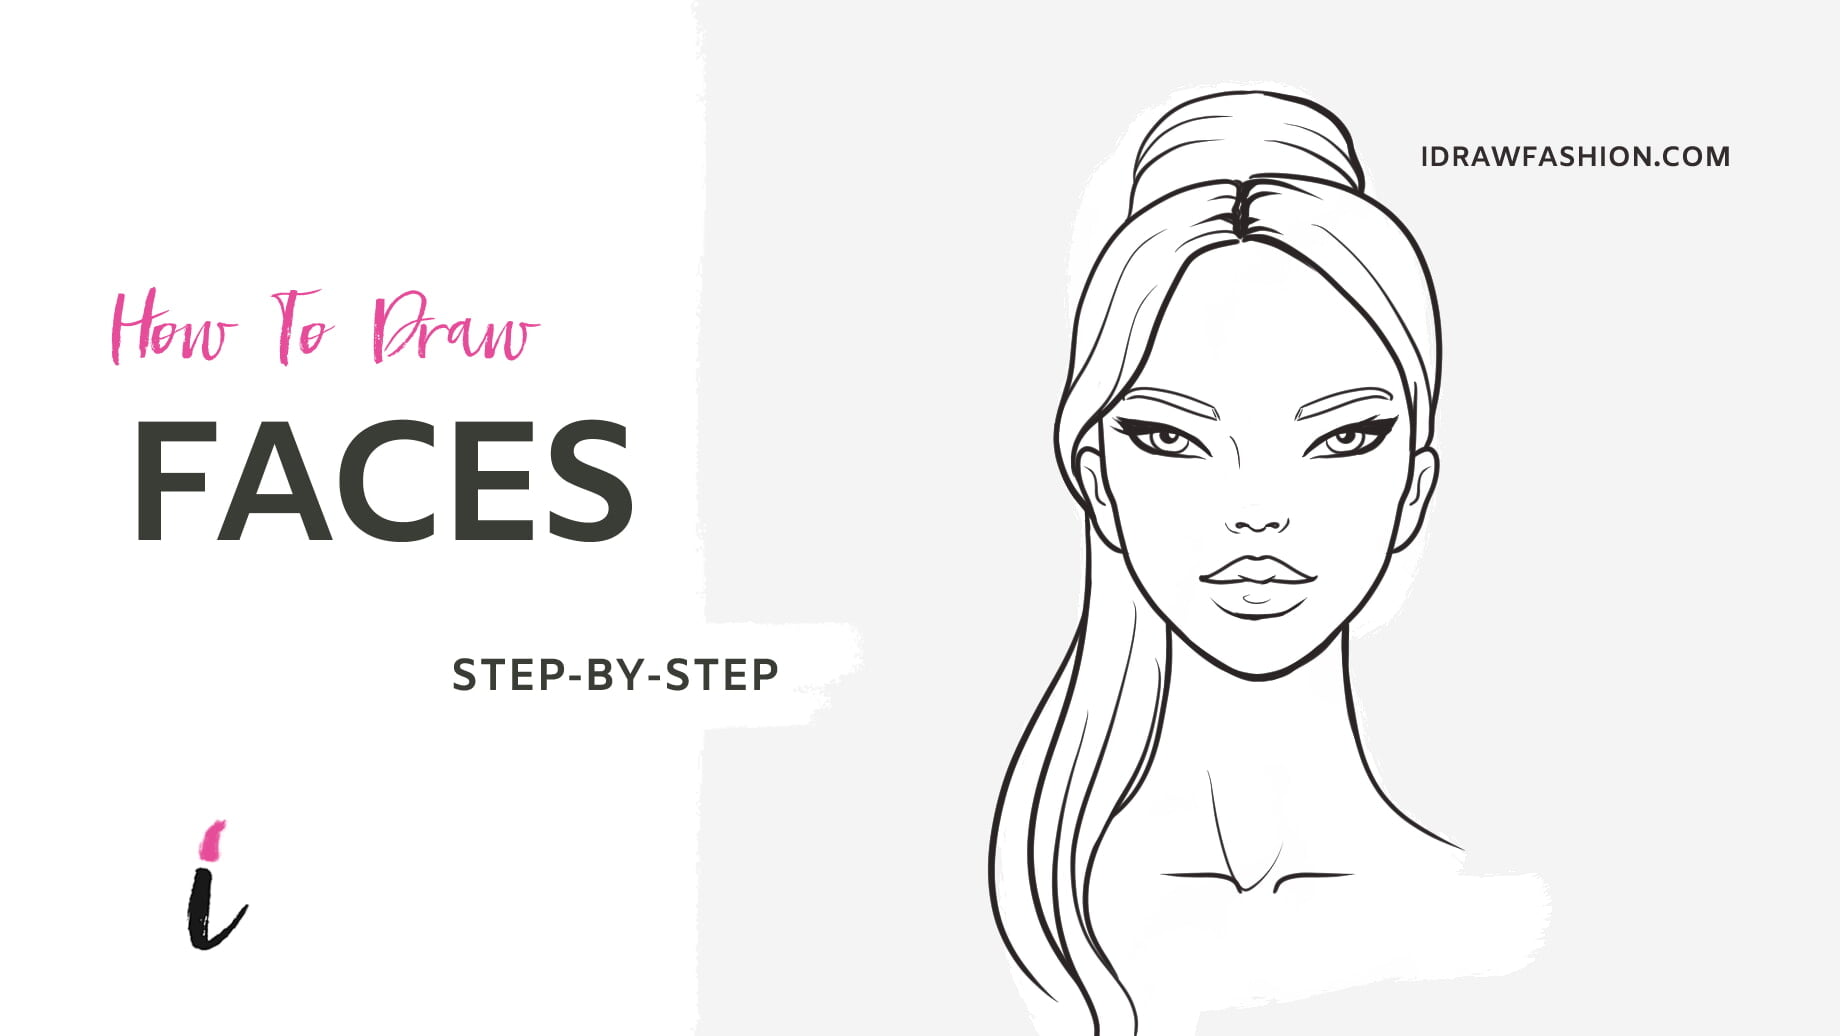
Drawing the face is one of the most difficult challenges in fashion illustration that every designer has to deal with. After you learned “How to draw profile face” in this tutorial you will master an easy technique to draw it from the front view. You won’t have to leave the face blank anymore. Go follow those simple steps and make her beautiful!
Draw a circle and mark its center. Don’t push too hard with the pencil.

Draw another one on top of it. The second circle should overlap the first one and touch its center. Put a Centerline for both the circles.

Slightly below the center of the first circle mark a dash. This indicates your model’s nose. Make the chin in the bottom-most part of the first circle.

Draw a smooth and graceful line connecting the chin with the last point before the circle starts to narrow. Try not to splay the lines too much, keep them close to the blueprint.

Finish the outline of the head by joining the circles. It the middle of the space between the nose and the chin draw a horizontal line. Draw two lines with about the same length as the mouth. Start from where the two circles cross each other and continue towards the Centerline. The space between the eyes should be approximately equal to the size of each eye.

In the half-way between the nose and the mouth draw a short line indicating the upper lip. Put another line in half of the mouth-to-chin distance. A bit under the eyes you already marked draw parallel lines.

>You’ll add glamour to your illustration if you keep the eyes not too large and opened. Fashion faces love cat eyes. To learn more check the instructions on how to draw eyes for fashion sketches
Close the eyes as shown. Stay away from the head outline. Draw a wide “U” where you marked the upper lip and repeat it upsized in the middle of the mouth Centerline.

Smooth the eye’s sharp angles as shown. Finish the mouth. Use the marks you already have drawn and start from them. It looks better if you don’t pull the lines of the lower lip right to the mouth Centerline. You can draw the lips closed or slightly opened – it looks extra glamorous.

Draw the nose tips where you initially marked the nose. Hint the nose tip and the bridge.

Just under the lower lip put a short line that will indicate the chin. Draw the cheekbones pointing towards the nose. Keep soft and close to the eyes. The eyebrows will go up until they reach the blueprint circle and then curve however you want their shape to be.

Divide the eye into three parts. Draw two half circles in the second 1/3 of the eye. Finish the eyebrows. Leaving them too fine they will make them look unnatural. Check “The importance of eyebrows in fashion design sketches” for examples of different types of eyebrows you can use for your models.

Put the ears starting from the eye line to the nose tip. The ear is frequently covered by hair, but you might need them. The necks of fashion illustration models are longer and thinner than normal. Start the neck from the line where the lower lip ends and make it at least half headlong. Finish her eyes. Put the makeup paying attention to the original shape of the eyes you’ve drawn.

Divide the forehead in 3 and fill the first part with hair. Be creative and give your beauty a lovely hairstyle of your liking! You might like the “How to draw curly hair” or “How to draw glam hairstyle” tutorials for your muse.

This sums up our tutorial on how to draw faces for beginners. Hopefully your fashion sketches will have a more complete, more polished look now and you will have much better time sketching your designs! For more tutorials on how to draw faces from different angles click here.
Happy drawing!


44 comments
Daisy
Teya
You are awesome. I have followed you for years.
Thanks for all the great tools and advice you have provided. I enjoy your work, classes and contests.
Keep up the amazing work you provide for others to learn a skill that is so valuable.
Teya Bozhilova
You are the sweetest, Daisy! Thank you for the kind words!
MikewhocheeseHarry
I’m sorry but they be lookin like sid the sloth xD
lanz
this website is so helpfull for me as a fashion design student . Big thank you for the creator and designer of this page<3
Jenniffer | Life is Messy and Brilliant
Your tutorial was really helpful. Thank you! :)
Eva
Great! I now can draw faces !!!! thank you ! great tips
12nnnhra73
thank you very much it was helpful i am so excited with it ..wow ,i tried it &it was wonderful
Ellie
Hey! I was wondering what size of head I should do because I always do it too big or too small. I just your blog and I love it. It is really helping me understand things more.
karie
tried so many tutorials!! only onethat helped! thanks a lot
Abby
This was very helpful and easy to follow. thank you.
hailey
i love this so much
Bruce
Think I just drew the ugliest Chinese stroke victim on the planet…..
I’m just kidding,it came out looking quite good. The lesson is great and opened a huge door to creativity for me and I don’t think it will take but a few tries to become comfortable with following this format…I love it.
michelle
Sooo helpful thank you very much for sharing
Tosin Adedipe
This is amazing!! So helpful!
gina
i got it..thanks a lot….
MIA'
i did not do this right at all
growth factor
Keep this going please, great job!
Bella
U r really gr8
I’ve just started a new blog about cr8ing fashion but drawing facial features and everything is just to hard 4 me :sad:
I Draw Fashion
[quote name=”Avalon”]Does the height of the head matter? Or is there a height that you like to use for it?[/quote]
Every artist has his/her own style for drawing it. Usually the body is about 9-10 heads tall.
kiki
OMG you have change my life
Looooove it
Avalon
Does the height of the head matter? Or is there a height that you like to use for it?
Elysse Phelps
Wow! I love this website so much! I was able to draw a perfect model. I am a fashion designer, and this really helped me draw models! ;-)
chantelle
:D :-) ;-) 8) :-| :-*
thank you so much your helping my HSC thank you thank you thank you
Dede
Hola, muchas gracias por hacer esta fabulosa pagina, he aprendido mucho mucho.Saludos!!
http://ofstyleandsecret.blogspot.com/
I Draw Fashion
[quote name=”leah”]ti was a very gr8 tuorial but i don’t get why you have to do those squareish eys could i do round :lol: ;-) :-| :P :roll: :lol: :o :D[/quote]
This tutorial shows just one of the many ways you could draw faces in fashion illustration.
Of course you can experiment and find your own way! :)
leah
ti was a very gr8 tuorial but i don’t get why you have to do those squareish eys could i do round :lol: ;-) :-| :P :roll: :lol: :o :D
Lyona
I did it :lol:
laila
this site helps me a lot :-) thank you
Raee.
not as realistic as i thought it would be, :-* but its fashion drawing so i guess it doesnt have to be realistic. ;-)
Maddi
Wow…… :-| :lol:
OhMyGummies
I never thought in a million years I could be able to draw a face that looks some-what realistic! This is so awesome. I just need some practice on the hair :sigh:
melanie
the space between the eyes is too big. Should only be the size of a 3rd eye
sandra
hard to keep ;-) up but helpful :lol:
Jua
[quote name=”I Draw Fashion”]Yes, Jua. It’s the same.
You can always vary with sizes, but I use this proportions for my figures[/quote]
That’s interesting :) Thank you!
I Draw Fashion
Yes, Jua. It’s the same.
You can always vary with sizes, but I use this proportions for my figures
Jua
The size of this head is the same with the oval shape we made at first to measure the body?
aqsa
wow! this was so helpful! can actually draw a face now!
cici
those eyes u guese drew r totally suckish for sure they look like freakin eyes of a cat
Lia
Fashion figures aren’t very realistic, and she did say that she would be drawing cat eyes. Also look at around at least 1/3 of models. THEY HAVE CAT EYES! You can of course experiment with doe like round eyes or something in between, but this is how she draws them. If you are looking for your own style draw it yourself. Don’t hate on someone who was kind enough to offer information that many would charge you a ridiculous amount for. Also the eyes look a lot better after they’ve been outlined in similar colors and colored. This is just a starting sketch. I actually think they look fine, just look a little too wide set but that fixes itself after being colored. Also don’t criticize someone else’s art and be so rude about it (constructive criticism is OK but yours is just poking fun and is basically the normal kind.) unless you are sure that you could get voted as being better at that specific thing 9 times out of 10. Even then its not the nicest thing to say, and will most likely only get you friends with high school mean girls. Trust me don’t go with them either, because they’ll generously inflict karma back on you even if they’re your “friends”. Please note all the other nice people who instead of saying they were “totally suckish” perhaps would have said, “Teya, could you perhaps not make the
eyes like those of a cat and more rounded? I think this looks better, but I trust you know what style of eyes looks most appropriate in your sketches.. Thanks!”
keli
:lol: super genial me encanto y aprendi mucho 8)
chanel
very nice,thx for this tut,it helped me so much :-)
I Draw Fashion
[quote name=”priya”]hi..i found this tutorial very helpful.. :-) :-) ..but can u plz give a tutorial on side view, up and down and other view of faces from different angles cos using this technique i can draw only front view of faces.. :roll: ;-)[/quote]
Sure, Priya. I plan to release all the things you mention! I do my best to upload a new tutorial every week, so keep in touch and thanks for coming by:)
priya
hi..i found this tutorial very helpful.. :-) :-) ..but can u plz give a tutorial on side view, up and down and other view of faces from different angles cos using this technique i can draw only front view of faces.. :roll: ;-)
linda
Cool tutorial !!!