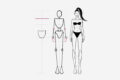
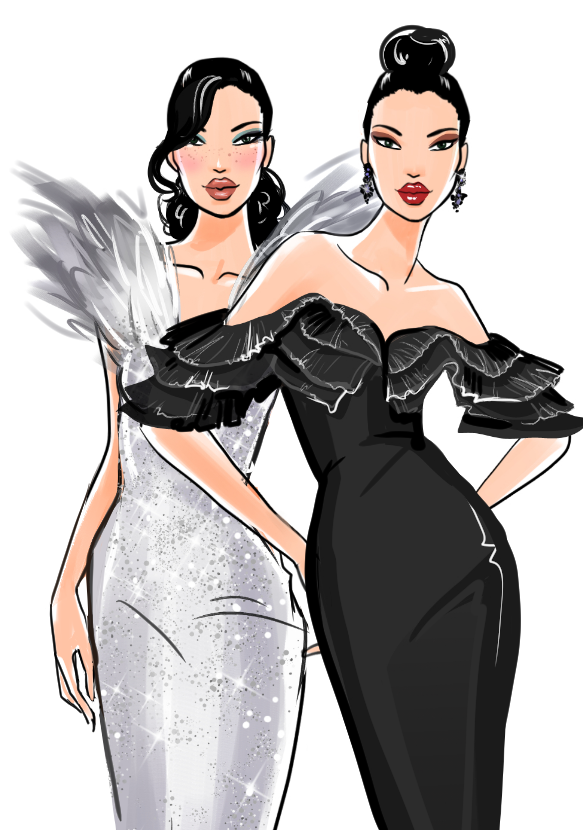
This step-by-step tutorial I’ll show you the easiest way to draw the fashion figure for beginners.
If you’ve ever tried to draw a fashion figure and the proportions looked off, you’re not alone. Most beginner tutorials you’d find in books or online teach you to start with the 8-head or 9-head method and measure the figure in equal parts. That approach can make your sketch feel stiff and it’s simply confusing when you’re just starting out.
In this tutorial, I’ll show you an easier way to draw a fashion model. We’ll start with a simple fashion stick figure, then add shape to ending up with perfect fashion proportions you recreate anyday in under 3 minutes.
It’s a method I use everyday as a professional fashion illustrator and I promise you once you get the hang of it, you’ll never want to look back to the old ways again! It’s more flexible and easier to remember than the standard 9 heads method.


Step 1: Plan the space your fashion figure takes
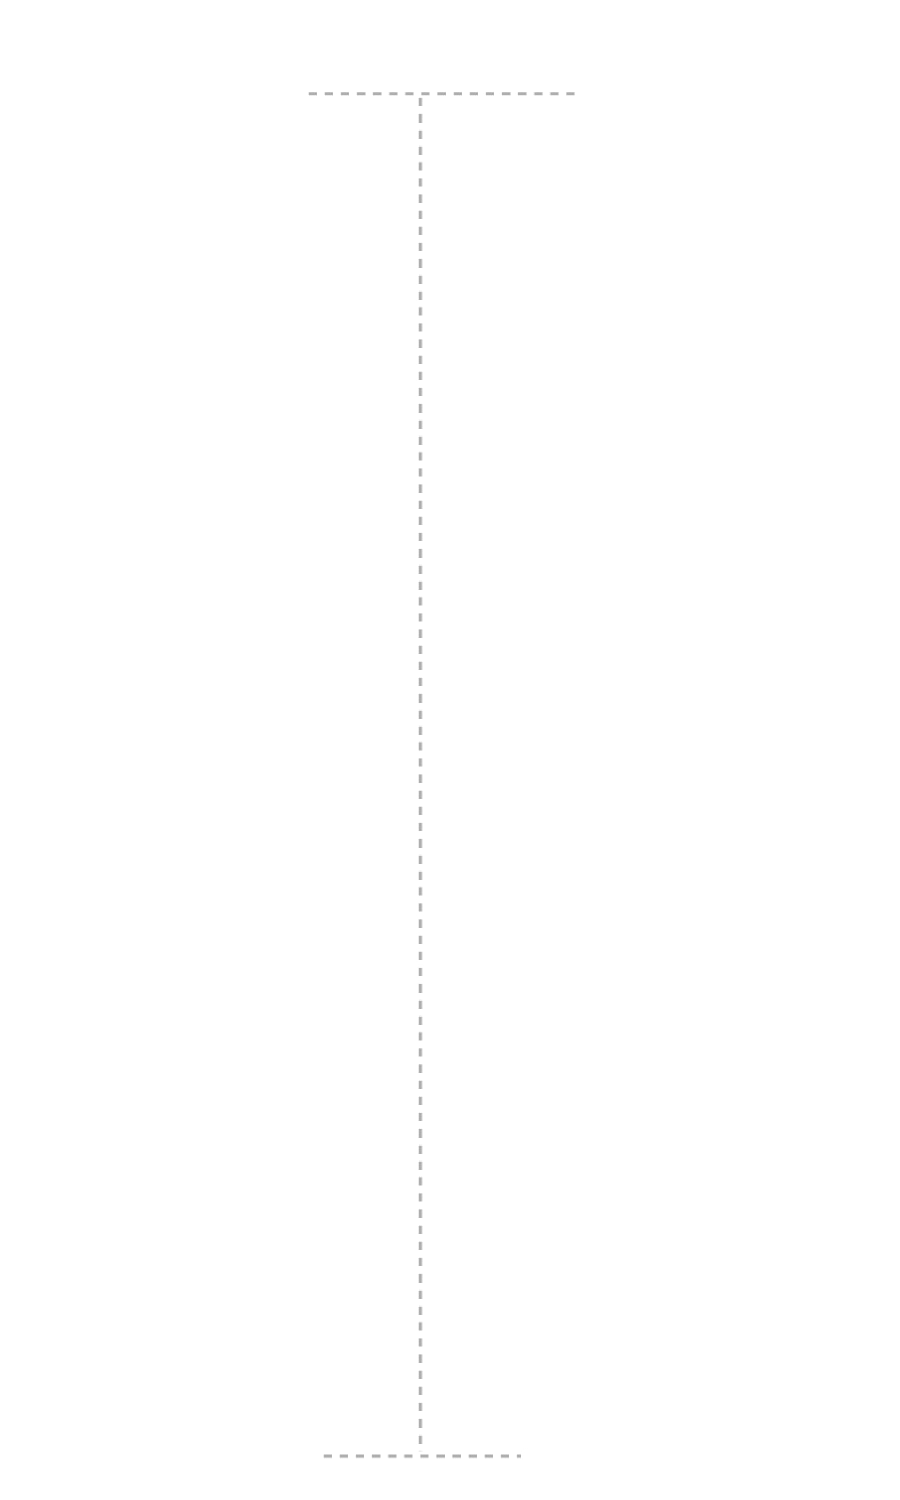
Not planning where the model will go on the paper is the reason why so many drawings end up with excess space underneath the figure or the contrary – not enough space to fit everything in. Mark where her feet touch the ground, leaving a bit of breathing space.
Mark where her head will reach. And pull a vertical Centerline to connect the 2 markings
You want the space above her head to be at least two times longer than the space underneath the figure.
Step 2: Mark the middle
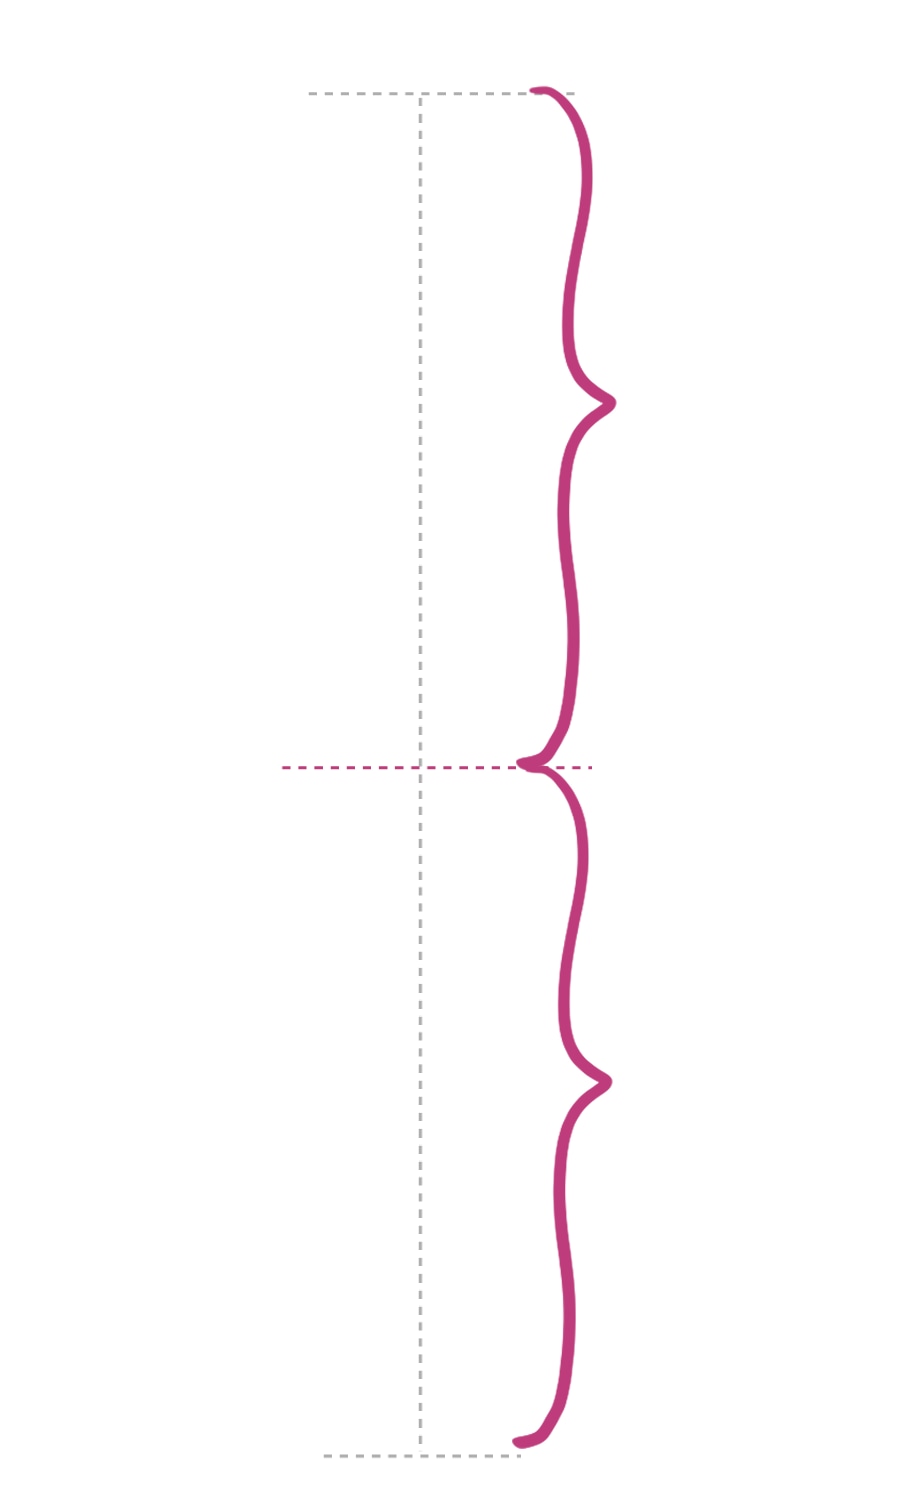
Using a ruler or just your fingers, find the middle and mark it lightly. We will erase this line in a second, it’s just to help us see where the middle is.
Step 3: Fashion Figures have longer legs
It’s not a secret that fashion figures are exaggerated versions of the realistic human proportions. They are much more slender and tall, with long legs. That’s why the middle of our croqui will be pushed up. The whole bottom part is for the legs, the top part holds the head and torso

Step 4: Forget all you’ve learned
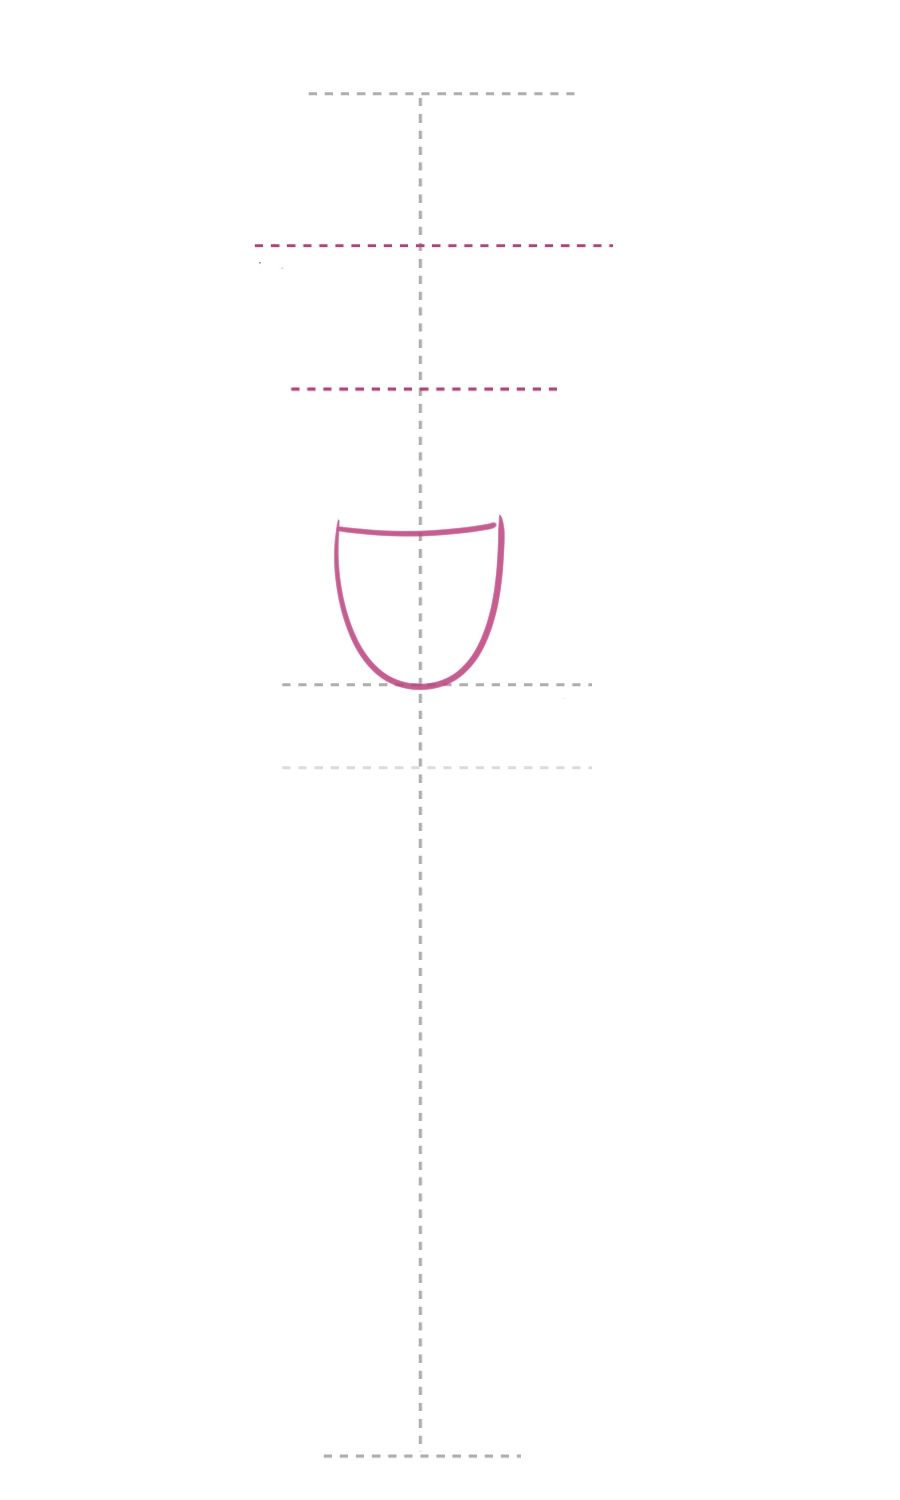
This is the core of this method, because for the first time you’re not going to start the figure from the head. We already marked where what space the legs will take, so the only logical things is to mark the last thing from the top part – the pelvis. Draw a wine glass bowl right on top of the last line we marked.
Once you’ve done that, divide the remaining space to the top is 3.
Step 5: Mark the shoulder line
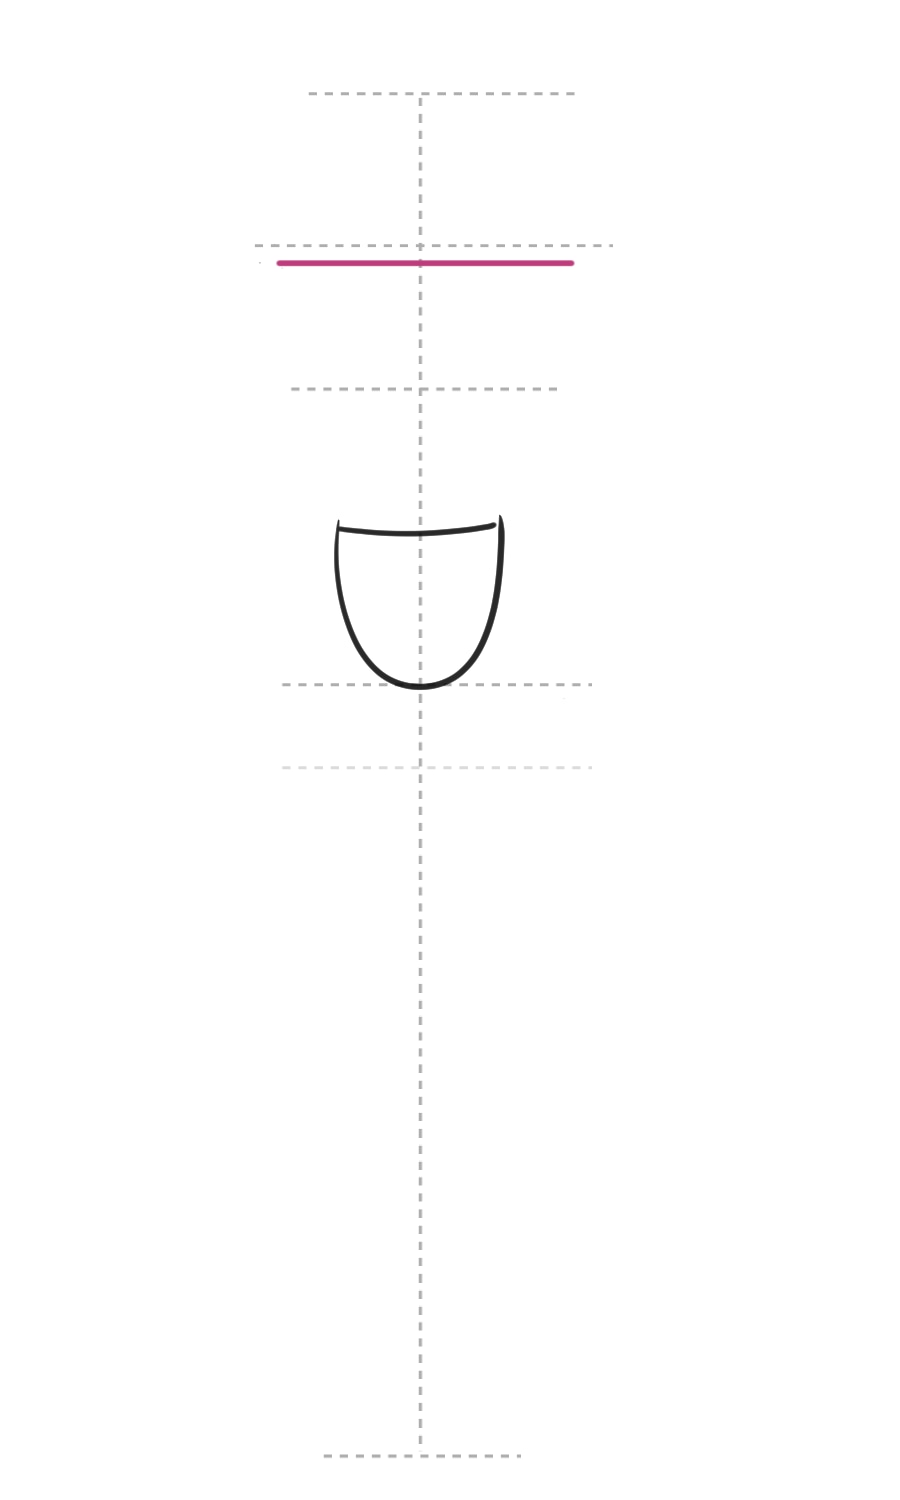
Slightly beneath the top 1/3, mark a long horizontal line. The very top is where the neck and the head will take place. It may look like too little at the moment, but trust the process!
Don’t try to anticipate how wide the shoulders would be. Just draw a long, confident horizontal line.
Step 6: Sketch the torso
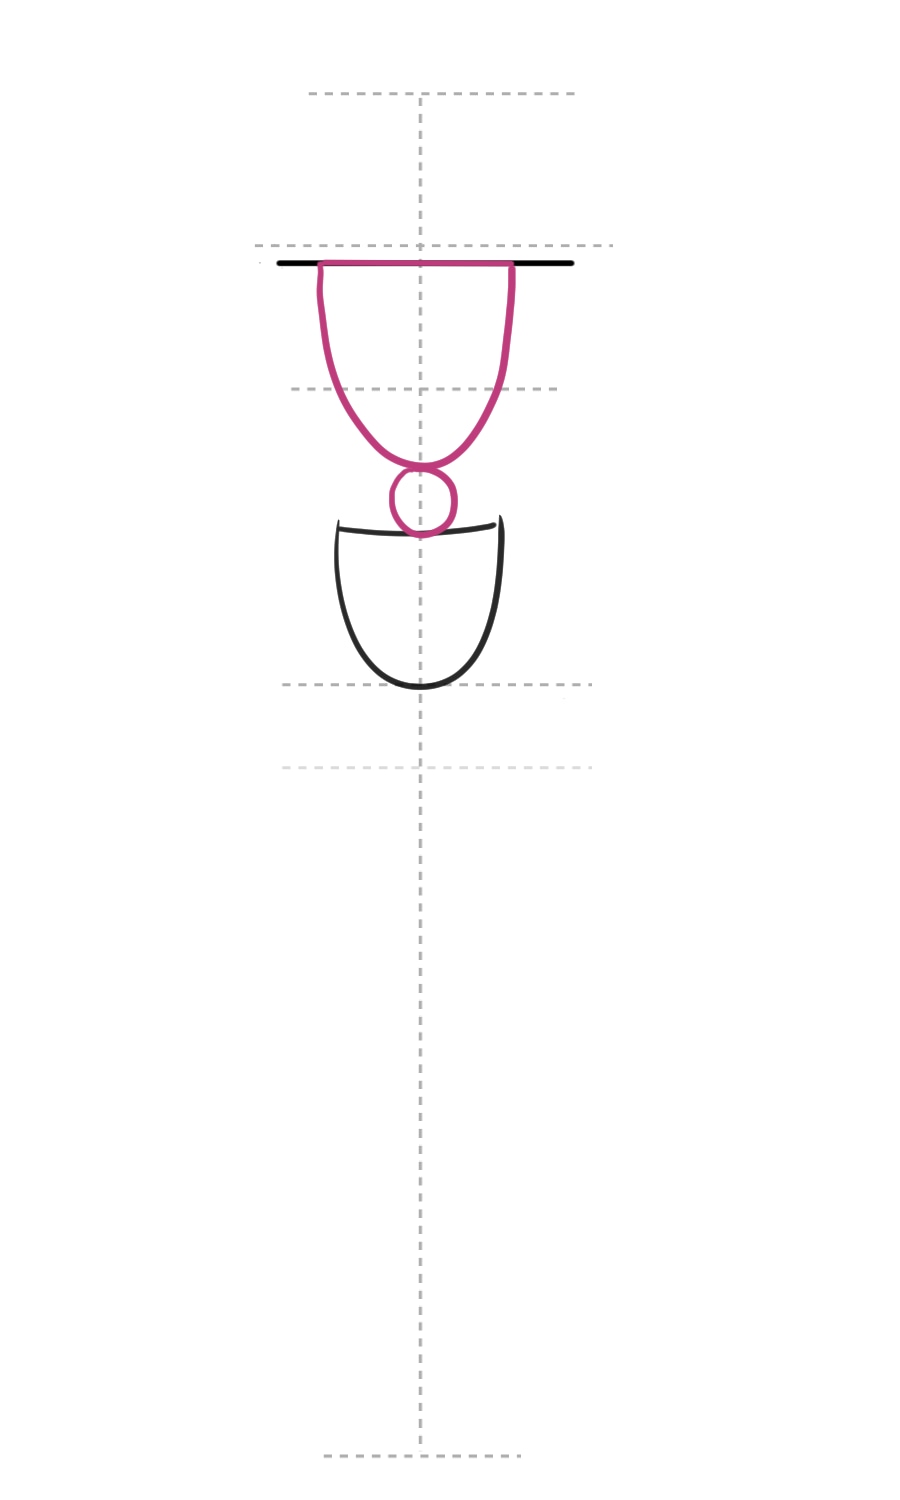
Now add a second wine glass bowl to mark the torso. It’s slightly scaled up version of the one you drew for the pelvis. Make sure it’s not too short – notice how much it extends below the second 1/3 marking.
Add a circle between the two glasses. This circle will be the croqui’s waist.
Step 7: Reshape the Hips
Believe it or not, the hardest part of our job is already done.
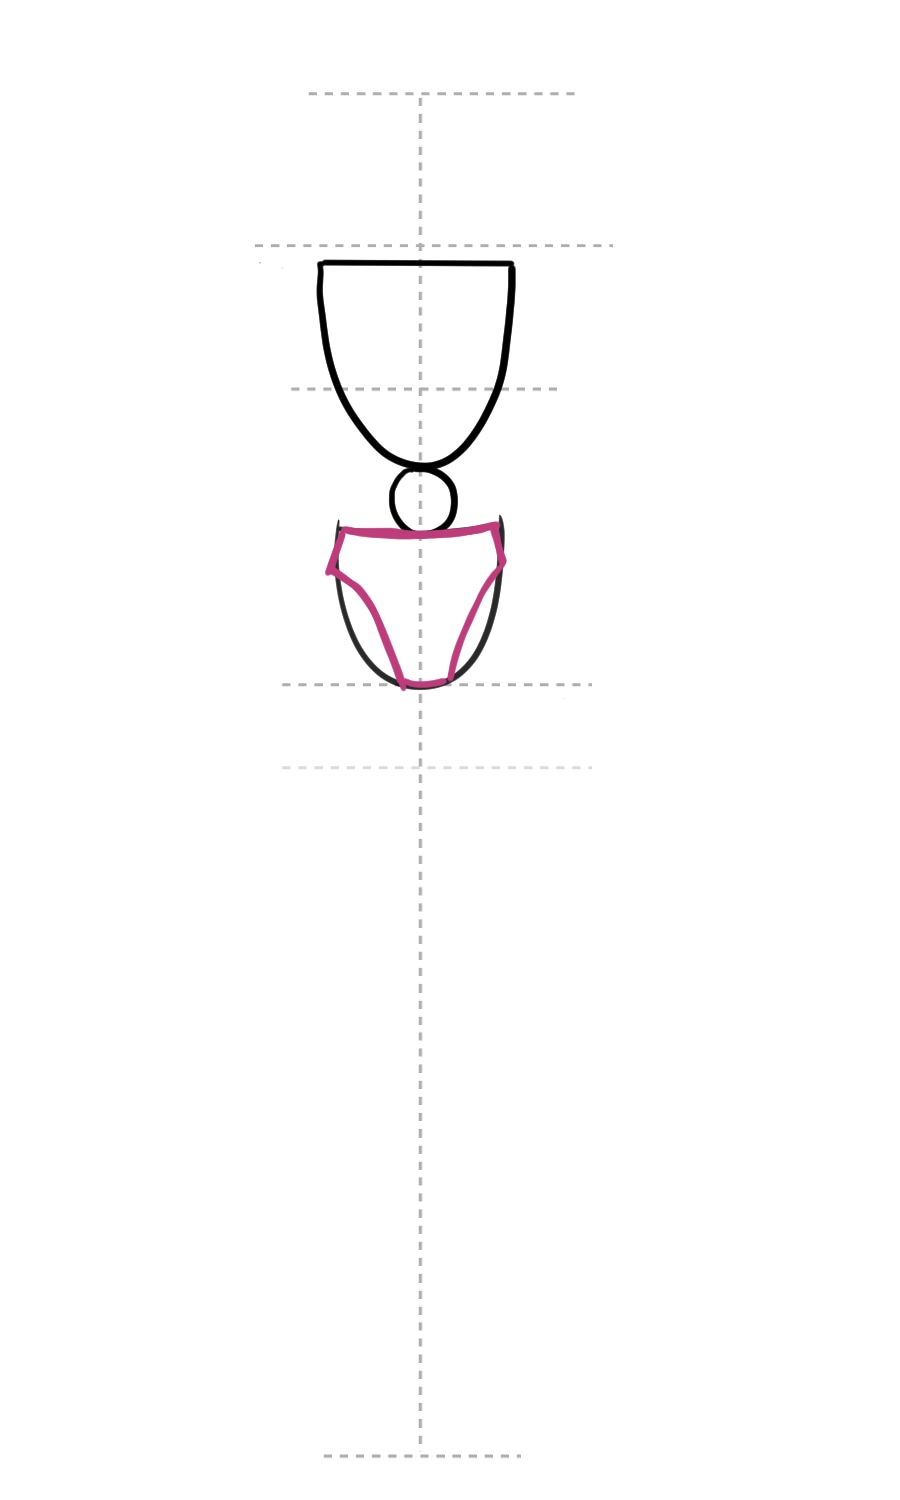
Now we will shape the hips bowl into panties. We want them to have a nice thick belt – this is very important. Don’t push the curved too high up.
This shape will guide us where to draw the legs of the model.
Step 8: Add the neck and head
You should know that we are just creating a slightly more elaborated stick figure at this point. It’s a stick figure with the correct proportions for a fashion design sketch. This means we’re not jumping into excessive details. Mark the neck with a line and the head with an ellipse.
The sketch should begin to look like proper figure at this point.

Step 9: Sketch the legs
For proper way to draw the legs in fashion sketches, you can explore this tutorial – “How To Draw Legs” – but we don’t need all that just now.
All we need is to add two straight lines starting from the panties belt.
For feet just make two tall triangles that touch each other.

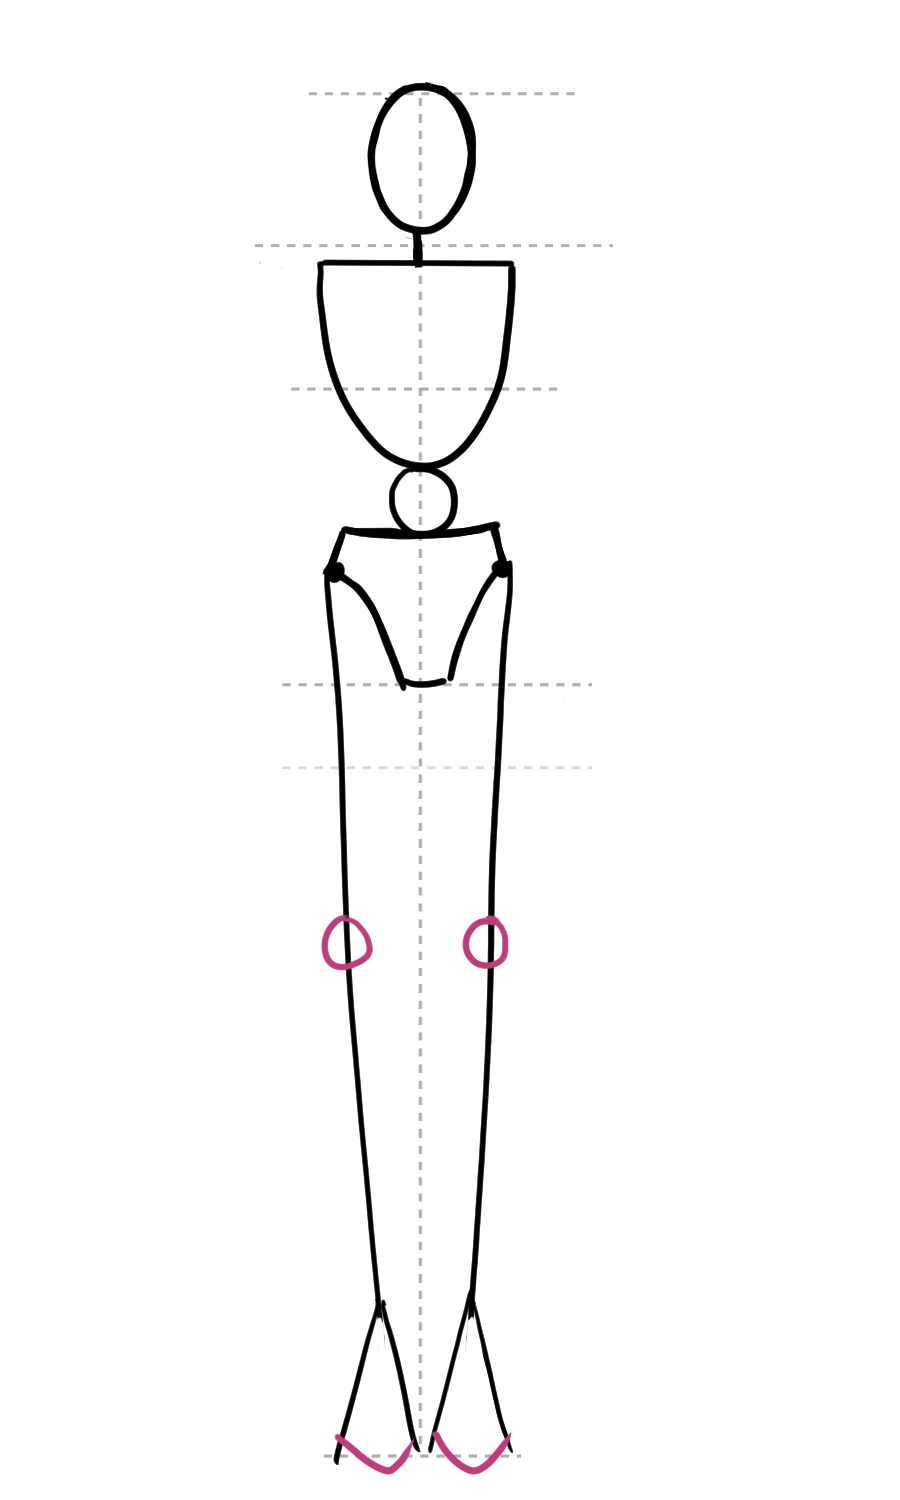
Step 10: Knees and feet
Finish the model’s feet and add two medium sized circles to mark the knees.
The knees are not right in the middle. To make the fashion figure look taller and more elegant, we’d slightly decrease the length of the tights and make the calves just a little bit longer.
Step 11: Sketch the wrists and the arms
Draw two circles right over the line that divides the model on top and bottom part. They should be slightly smaller than the knees, but don’t make them too tiny. Connect the to the shoulders with straight or lightly curved in lines.

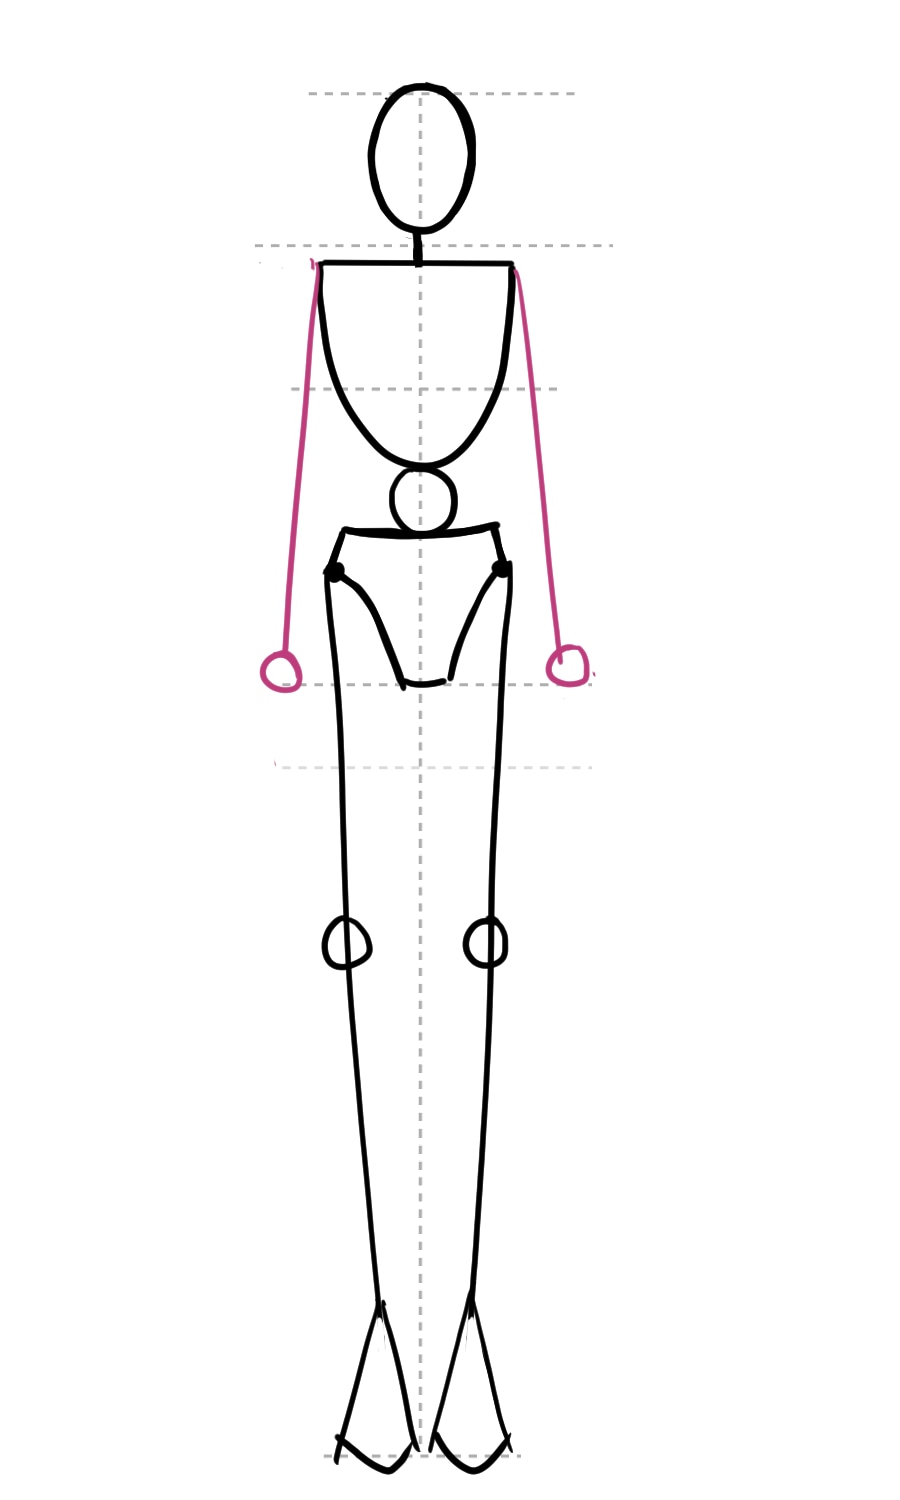
Step 12: Elbows and hands
The fastest and easiest method to draw the hands in fashion sketches was shown in this tutorial right here. However, we are still not there. We are only marking what space the hands will take and it’s exactly up to the real middle of the figure (before we moved it up in step 3).
The elbows are represented by two circles at the waist level. With this, our fashion stick figure is done.

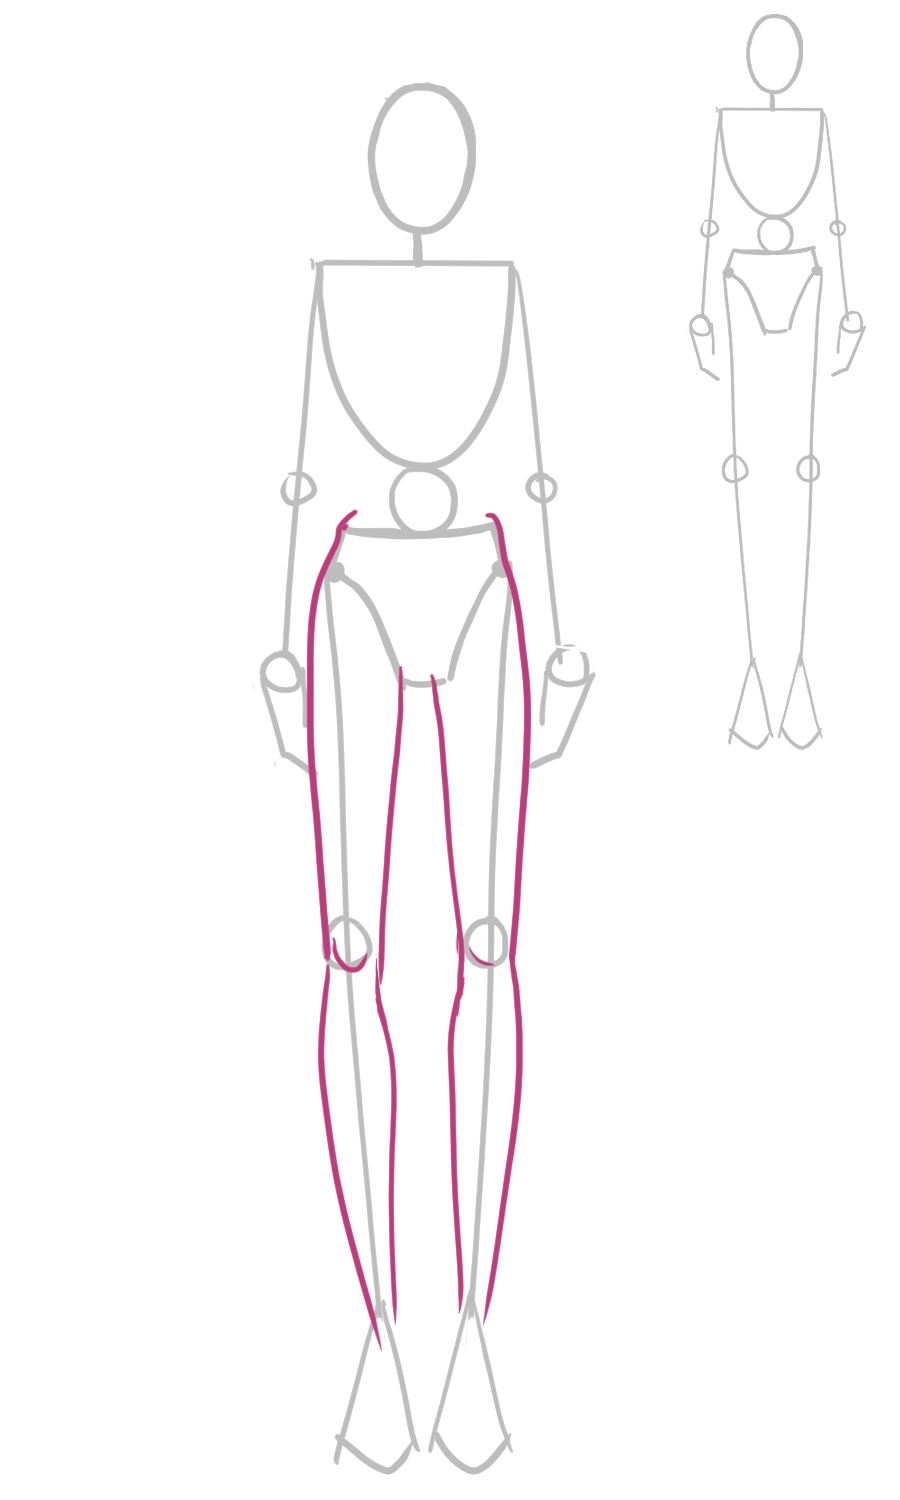
Step 13: Start adding shape to the fashion figure
It’s now time to add shape to the stick figure part by part. It’s easiest to start with the hips and legs. Just follow the base you have and make sure it’s symmetrical on both sides.
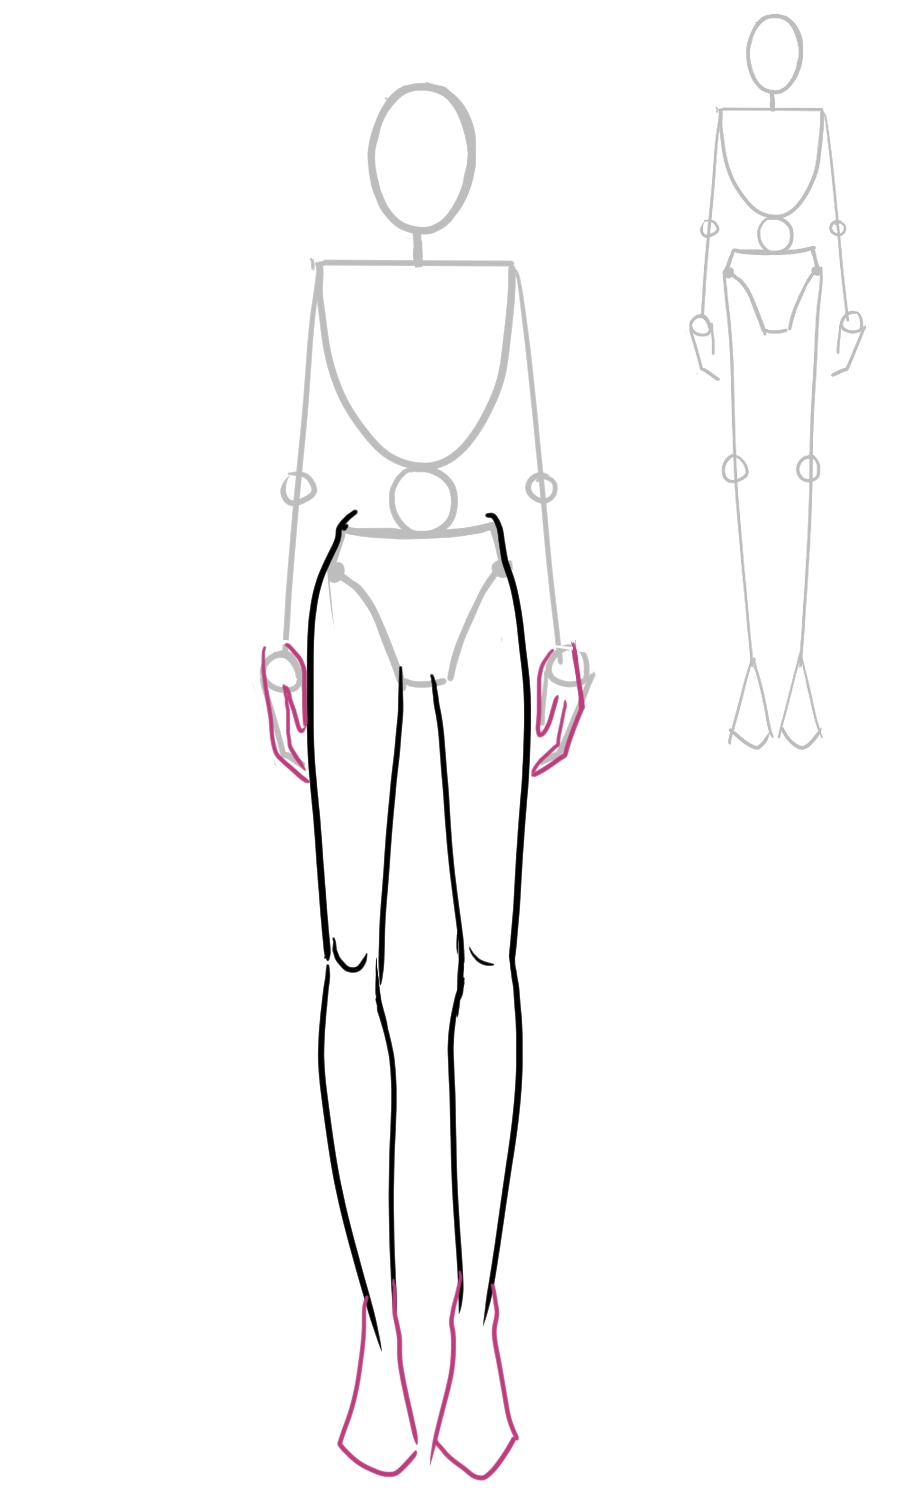
Step 14: Draw the Hands and Feet
Draw simple hands and feet. following your guides. For going into depth how to draw hands and feet in any position and from every angle, check out the Fashion Figure Masterclass course, which is now on discounted.
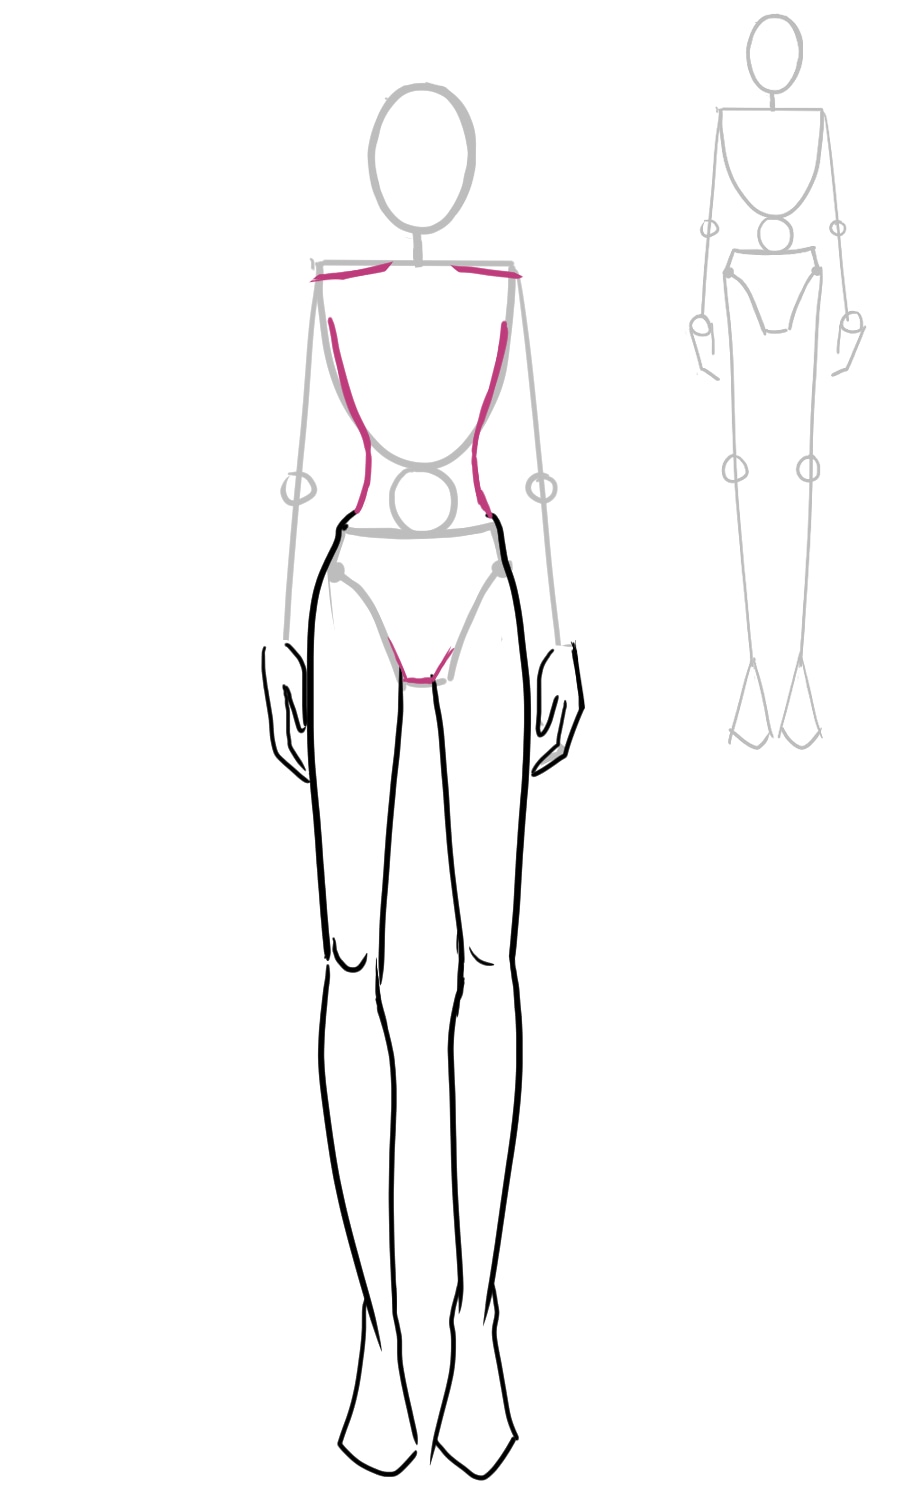
Step 15: Sketch the torso
Let’s move to the torso. Bring the shoulders slightly down, but still relatively straight –no soft lines in fashion drawings, especially in the shoulders area.
Draw the gentle transition between the torso and the pelvis.
Step 16: Complete the arms
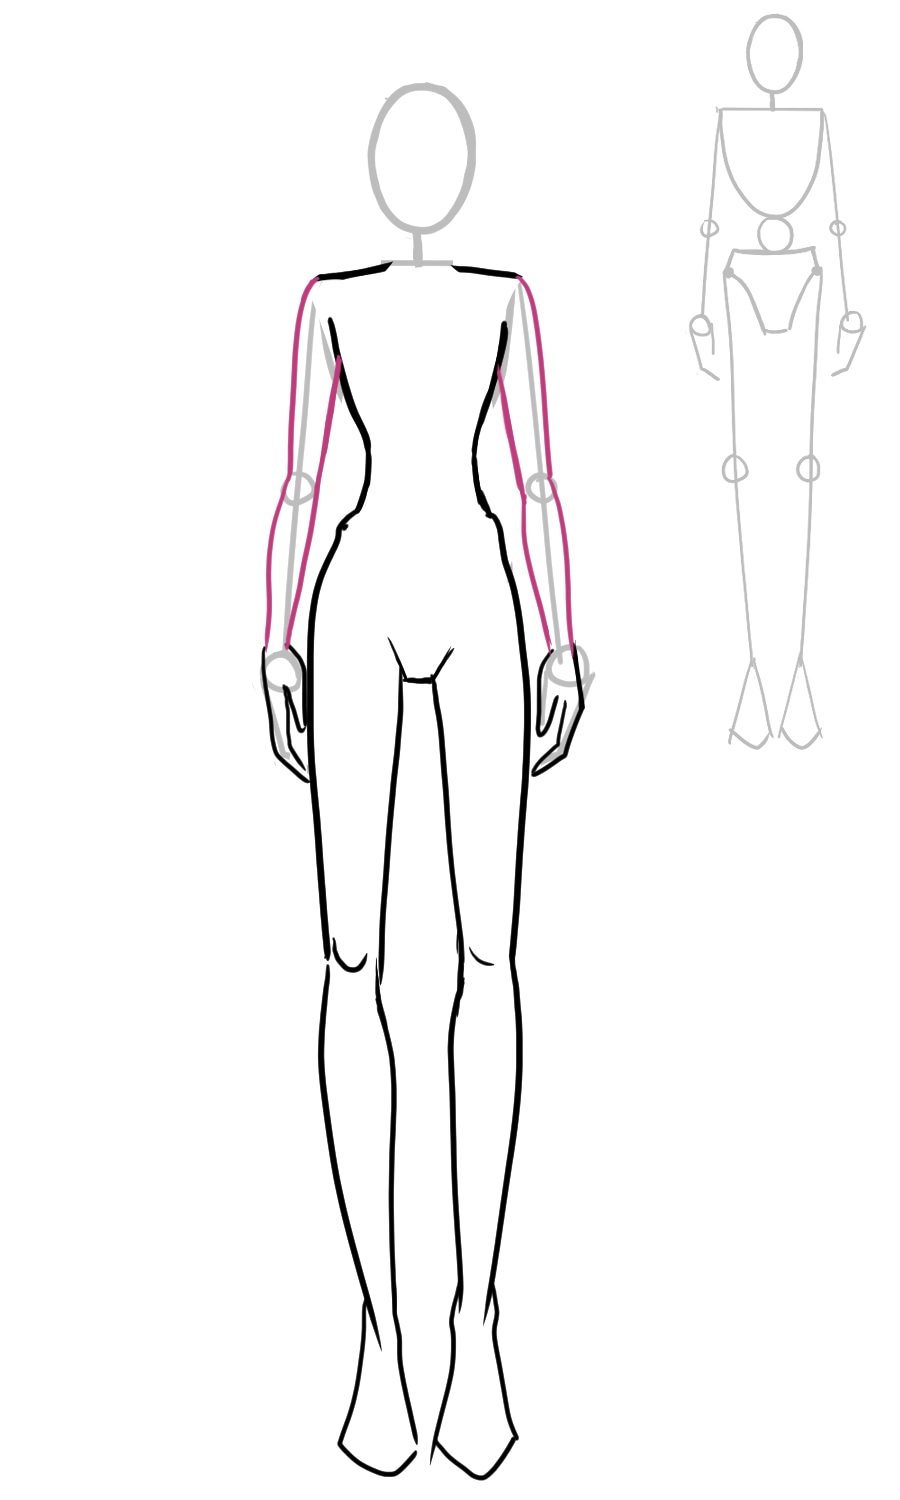
It’s time to finish drawing the figure arms. The top half would be straight, the bottom – slightly softer curved lines. Pay attention where the arms connect to the torso and make sure there is overlapping
Step 17: Head and neck
Following the guides, draw the neck of the figure and the head shape.

Step 18: Add the final details to your fashion figure
From here it’s just a matter of embellishing the model with hair, chest and collarbones. It’s your time to play and experiment with your fashion croqui and make it yours
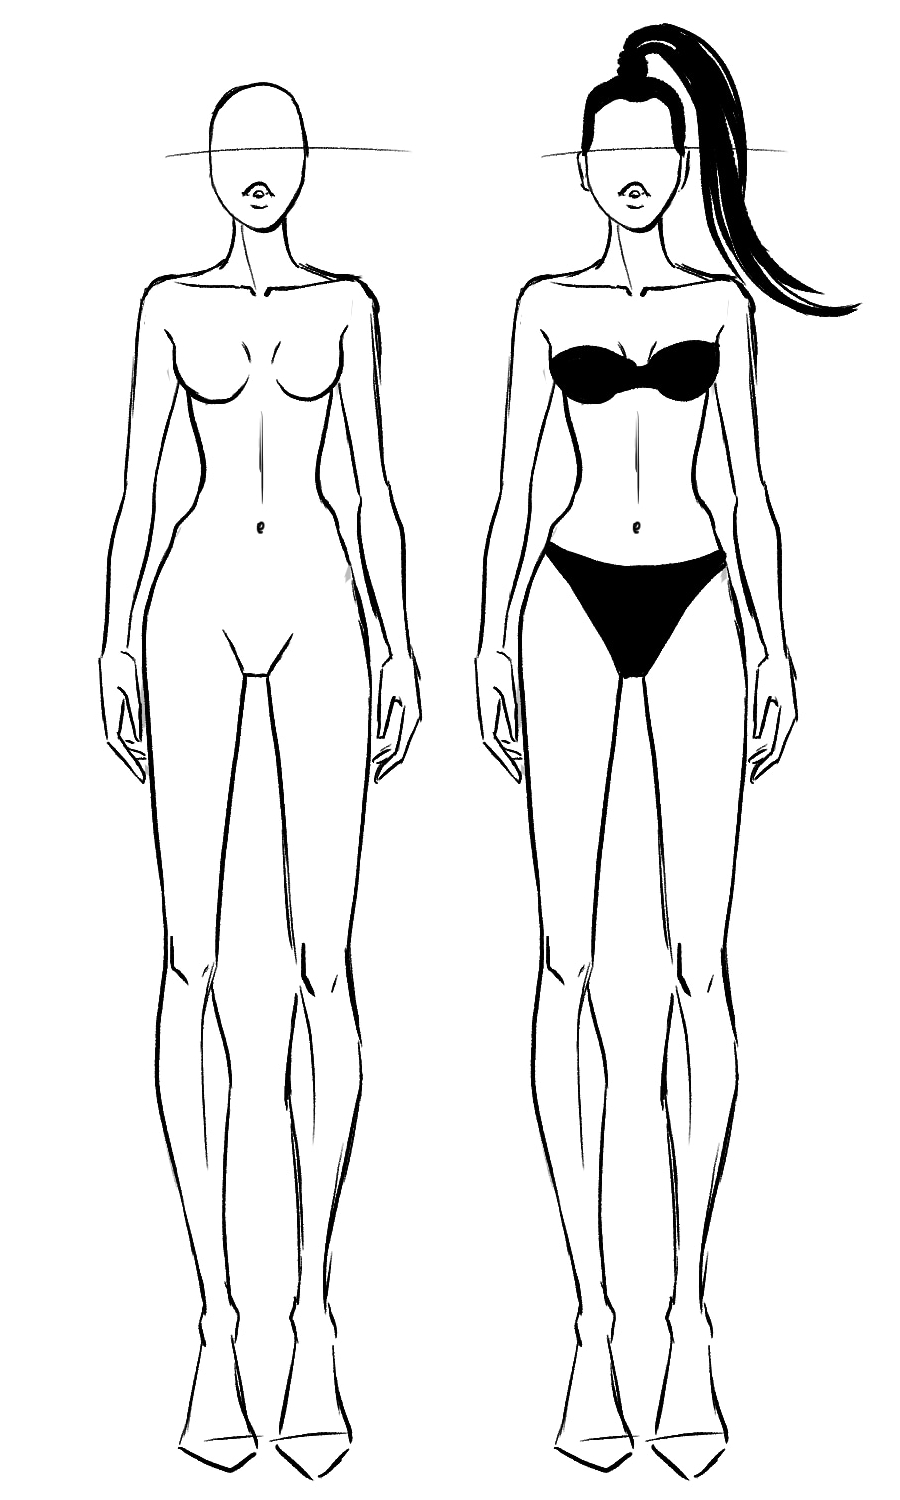
This tutorial taught you my trademark method of drawing fashion figures. It’s easy to replicate for beginners and you see the results in minutes. Once you practice it 5-6 times it will become a second nature to you and you’ll never have problems drawing the fashion croqui again – the stiffness and the akward proportions will be part of the past. If you liked this method and you’re looking to further improve you design sketches – check my Fashion Figure Masterclass, where in 6 mini courses I cover in detail everything you need to know to be confident in your figure drawing. We cover not only proportions and poses, but also concepts no other book or course touches on.
Happy drawing!